


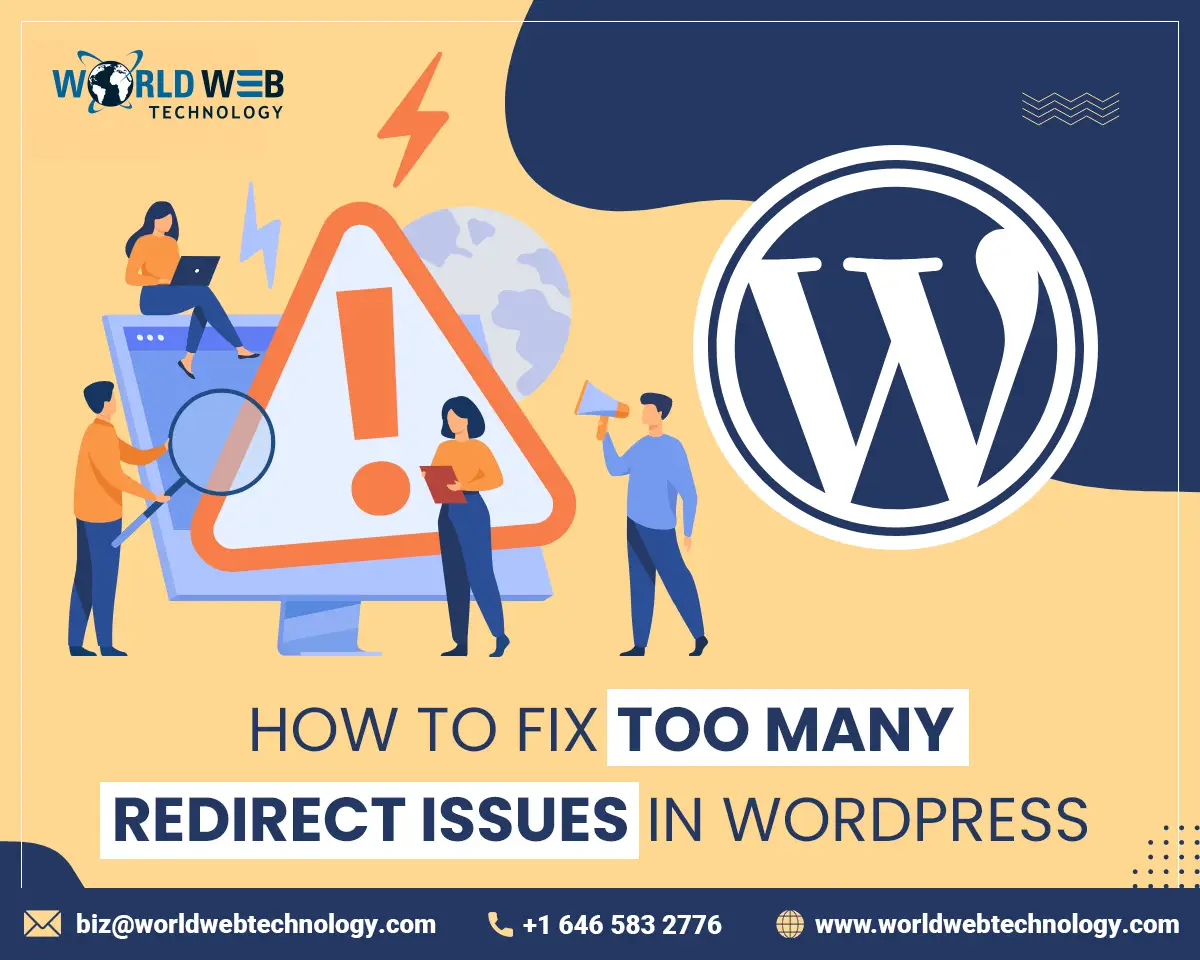
Let’s fix too many WordPress redirects; no customer/reader wants to be redirected to a different page when he wants to visit a particular page. A redirect is better than a 404 message. Still, too many redirect errors can spoil your page ranks or cause a decrease in traffic, especially a never-ending redirection loop that will frustrate users to no end.
There could be numerous reasons for excessive redirects on your WordPress site.
- Misconfigured WordPress settings
- Incorrect server settings for HTTP/S
- Conflicting WordPress plugin settings
- Poorly configured SSL/TLS certificate
- Problems with third-party services
- Hosting multiple websites on a single server
- Faulty website/domain migration
These are only a few reasons, and there could be more. In this blog, we will discuss ways to fix this error, infamously known as – ERR_TOO_MANY_REDIRECTS.
No doubt, the steps we have explained here are easy to follow, still, it is advised to do only if you are an expert. Or else, you can take the help of a WordPress Development Service provider or get it done by an expert.

Steps To Fix the ERR_TOO_MANY_REDIRECTS Error
1. Delete Browser Data
Your browser data could be a storehouse of obsolete cache and corrupted cookies. Check if your browser is the culprit before you jump to conclusions and start making significant changes to your WordPress website. Delete your browsing history.
For Chrome and Firefox
- Press Control+Shift+Delete (Windows) or CMD+SHIFT+Delete (MacOS).
- Select the time duration for which you want to clear the browsing history.
- Now, click on OK / Clear Data.
If you want to clear cache and cookies without opening any browser, please follow the steps below.
- Press the Windows key (on the extreme left-hand side of your desktop/laptop) + R key.
- When the Run dialog box pops up, type %appdata%
- Next, proceed to local and then Google. Now, go to Chrome and delete the user data folder.

- Repeat the same for other browsers.
For Mozilla Firefox:

For Chrome:

2. Check and edit the URL settings
Cleared your browsing history, but the problem persists? No worries, check if your WordPress URL settings have been properly configured.
The ERR_TOO_MANY_REDIRECTS error occurs primarily because erroneously create their WordPress site point at the wrong domain while changing/transferring your domain name or during the host migration process.
There are two ways of checking your URL settings.
- Manual process
- Accessing the WordPress admin dashboard
1. Manual Method
When you face the redirect loop error while using your WordPress website, accessing the admin area would be practically impossible. In these circumstances, you need to change your URL settings by editing the wp-config.php file. You can do it using File Manager or an FTP client.
- Using an FTP client, connect to your WordPress website folder/pathWP’s
- Now, proceed to – /wp-content/themes/your-theme-folder/
- The next step is to find the functions.php file and edit it using a text editor like Notepad.
- Now, add the following code at the bottom.
A. update_option( 'siteurl', 'https://example.com' );
B. update_option( 'home', 'https://example.com' );

Note: https://example.com is for illustration purposes only, and you need to replace it with your WordPress website’s URL. Once you complete this step, you are advised to save the changes and check if changing the URL resolved the redirect loop error.
Editing the URL settings through the Database
The following steps guide how to edit the URL settings using phpMyAdmin.
- Locate your WordPress database name through the wp-config.php file.
- Login to the CPanel and move to phpMyAdmin under Databases. Click the Enter phpMyAdmin button, which is located next to your Database. (associated with your WordPress website)
- Now, click on the SQL tab under the phpMyAdmin area.
- Enter the below MySQL query while replacing oldcurl.com with the existing WordPress addresses and newcurl.com with the new site address.

UPDATE wp_options SET option_value = replace(option_value, 'oldurl.com', 'newurl.com') WHERE option_name = 'home' OR option_name = 'siteurl';UPDATE wp_posts SET guid = replace(guid, 'oldurl.com','newurl.com');UPDATE wp_posts SET post_content = replace(post_content, 'oldurl.com', 'newurl.com');
UPDATE wp_postmeta SET meta_value = replace(meta_value,’oldurl.com’,’newurl.com’);
- The next step would be to click on GO which will execute the query. Now, open the wp-options table to examine the option_value of site URL and home to ensure that the update process has been completed successfully.
In case your website file is located in the default root folder (/public_html/), you should use the default (http://example.com/) URL. If it happens to be in a sub-folder like (/wp/), you are advised to replace the URL with a new URL. For example – http://example.com/wp.
2. Steps to change the URL settings using the administrator dashboard
This is another alternative way to change the URL settings. If you can log in to the administrator dashboard, please follow the steps below.
- Access your admin dashboard and find settings on the bottom left-hand corner.
- When you click on settings, it will lead you to the General Settings page. Pay close attention to your WordPress address (URL) and site address (URL).
- Both URLs should be configured correctly. Save all the changes if you do make any edits.

3. Delete WordPress Cache
Apart from the browser, the corrupted cache may be stored in the WordPress website as well, leading to redirect loop errors. You can use either of the two options below.
1. WP Fastest Cache Plugin
WP’s fastest cache plugin is a free WordPress cache plugin. It has a premium version too, but the free version is good enough to clear your website cache. Please find the steps below.
- Login to your WordPress dashboard and click on Plugins – Add New.
- Use the search bar to locate – WP’s fastest cache. Now click on Install Now – activate to start the process

- Look for the drop-down under settings – WP fastest cache

- Find the delete cache tab and select the option that best suits your requirements.
- Upon successfully clearing the WordPress cache, you will notice a confirmation message on top of the page.
2. WP Rocket Plugin
WP Premium is not a free tool. However, it is compatible with popular themes, plugins, and hosting providers. Apart from that, it also includes impressive features while following the best practices in web performance. It is available in three plans – single, plus, and infinite, priced at $49/year, $99/year, and $249/year. Follow the steps below to clear the website cache using this plugin.
- Purchase the license and then download it. Now, upload the plugin file to WordPress and install it manually.
- Now, proceed to the WP Rocket dashboard.
- Select the drop-down – Clear Cache under Quick Actions to get rid of all cache files.
4. Disable corrupt plugins
Corrupted/outdated plugins can also cause the ERR_TOO_MANY_REDIRECTS. Often, particular WordPress plugins that implement redirects may also conflict with your server redirects.
How do you know for sure whether outdated/corrupted plugins are causing the redirect error? Manually edit the folder and disable all the plugins. You can accomplish this task using your hosting provider’s File Manager or an FTP client.

- The first step would be to configure your FileZilla client.
- After logging in, choose the option called Remote site. Proceed to wp_content and find the plugins folder.
- Right-click on the folder and rename it to – plugins_disabled. Now, try accessing your website. Does the error message appear now? If yes, then one or more plugins are outdated/corrupted.
- Now, rename the folder to Plugins again. Repeat the same troubleshooting process for each plugin’s folder to understand which one is causing the error. We advise you to start with the one that was installed most recently.
5. Disable the .htaccess file
A faulty variable or a conflicting redirect rule in your .htaccess file may be responsible for causing the ERR_TOO_MANY_REDIRECTS error. In these circumstances, disabling the file will allow you to get access back to your website. Follow the steps below to disable the .htaccess file.
- Access the File Manager using the Hostinger CPanel.
- Find the .htaccess file
- To rename the file, right-click on it. Choose a file name like .htaccess_revoked or something.
- Next, check if the website loads correctly.
If the website loads correctly, check the .htaccess file’s configuration by right-clicking on it and choosing the edit option. It should appear like the default .htaccess configuration. If it doesn’t, delete the content from the file and paste the default values in its place.
# BEGIN WordPress
RewriteEngine On
RewriteBase /
RewriteRule ^index.php$ – [L]
RewriteCond %{REQUEST_FILENAME} !-f
RewriteCond %{REQUEST_FILENAME} !-d
RewriteRule . /index.php [L]
# END WordPress
Now, rename the file to .htaccess, and it should solve the issue. If these issues were caused due to incorrect configuration, these steps should resolve the issue.
Changing your old .htaccess settings may botch up your website settings. It would be a good idea to create a backup of the original file before implementing any changes.
6. Turn off CDN (Content delivery network) temporarily
Third-party service installed within your host can also be a reason for the redirect looping errors. Most of the time, CDN configuration is the main culprit. What is CDN? It is a complex system of proxy servers installed in various locations to path WP high website load speeds.
When your CDN’s option is set to Flexible, significant problems arise because it sends encrypted requests to your website’s server. In case your website is configured to redirect all HTTP requests to HTTPS while using the Flexible mode, you will encounter the ERR_TOO_MANY_REDIRECTS error.
To stop that from happening, configure the CDN’s SSN settings to full or full (strict). Doing this will solve the issue, provided you have an active SSL certificate. However, before taking this step, you need to ensure that your CDN is causing the problem. For that, you need to disable your CDN for some time. Use Cloudflare to accomplish this task.
- Go to the Cloudflare dashboard and find the Overview tab.
- On the bottom right-hand of the page, you will see the Advanced Actions section.
- Now, pause Cloudflare on the website.
Now, go to your CPanel to disable Cloudflare and fix the redirect loop error. Find the steps below:
- Go to the Cloudflare menu under Domains on your CPanel dashboard.
- Now, turn off the SSL/Encrypt communication setting, save the changes.
- After disabling Cloudflare, clear the cache one more time.
A must-read: 15 Ways to Improve WordPress Website Performance in 30 Minutes
Final Thoughts
We hope that the steps above have helped you resolve the ERR_TOO_MANY_REDIRECTS error in WordPress.
We are an expert WordPress agency with decades of experience providing WordPress Development, Support, and Maintenance services. Please get in touch if you’d like any further help in improving the WordPress website.
World Web Technology
World Web Technology is an India and USA-based Web Design, Web Development, and Mobile App Development Company that offers creative and proven web solutions around the globe.
Most Popular Categories
Discover top categories on our blog, featuring WordPress, PHP, eCommerce, and Shopify insights and tutorials.


Featured Insights
Immerse yourself in our passion for sharing the latest industry news, cutting-edge technologies, and insightful articles. Explore the depths of knowledge with us.

10 Proven Strategies to Increase Customer Lifetime Value with WordPress